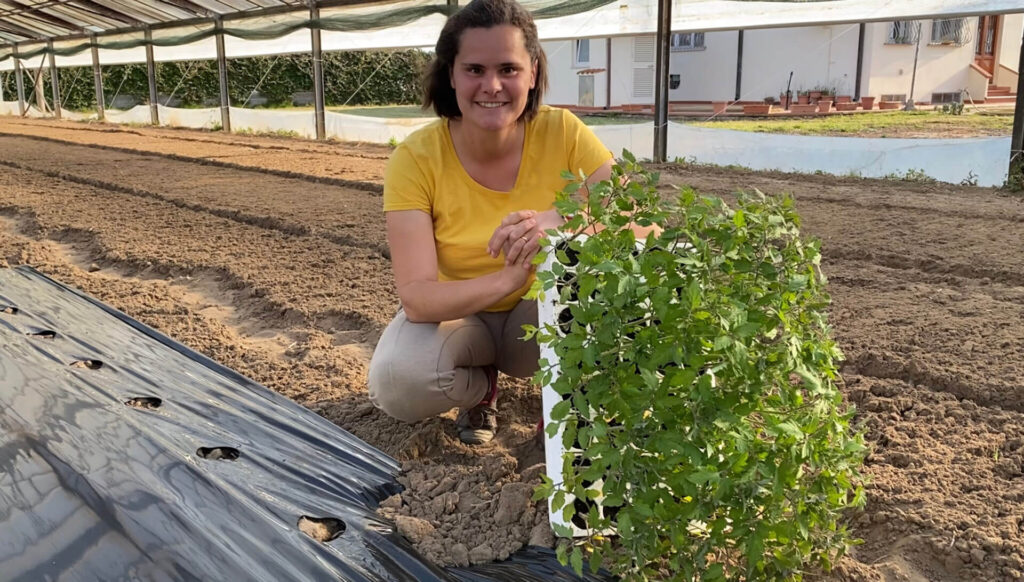


Tomatoes are considered by many to be the king of the vegetable garden, so much so that every year we look forward to planting the seedlings. Like me, everyone plants different varieties of tomatoes every spring, from elongated ones for sauce to round ones for salads, from small ones like dates and cherries to ones of different colours such as yellow, black or even pink!
Well, that’s certainly true, there are tomatoes to suit all tastes.
Soil preparation is essential for any crop, but since we are talking about a long cultivation period (at least 5-6 months), it becomes even more important.
Excellent basic fertilisation always involves an abundant supply of organic matter, whether of plant or animal origin (preferably both).
I recommend using pelletised organic fertiliser at a rate of 2/2.5 quintals per 1000 square metres, but if you have loose or sandy soil, you can go up to 4 quintals per 1000 square metres.
After fertilising, it is best to lightly till the soil to work everything in, and if possible, also rip it, which is an operation that breaks up the subsoil, making the soil more draining.
Finally, dig over the soil and then lightly water it to activate the fertiliser. Leave it to rest for at least 20 days, then start planting!
It is essential that tomatoes are watered from below, avoiding wetting the leaves to prevent fungal diseases. For this reason, a drip irrigation system using pre-perforated plastic hoses (or tapes) is ideal. These come in different sizes, but I can assure you that the most suitable ones are those with holes 10 cm apart, as they guarantee very regular and uniform watering.
These hoses are available for sale in pre-defined lengths, even in 3,000-metre reels, or in almost all agricultural shops, where they will sell you the length you want, cutting it to size on the spot!
They are very easy to install and can be used for several years!
The mulching system is very convenient, not only for us but also for the plants, believe me! In fact, while it is convenient for us because it prevents weeds from growing, it also provides the plants with a constant level of moisture at the base, meaning they do not need to be watered constantly, which, as we will see, is not even that good for tomatoes.
Mulch can be made of plastic or natural materials such as hay, straw or dry grass. I choose plastic mulch, but biodegradable plastic! It costs a little more, but we respect the environment.
Mulching sheets must be light and easy to handle, but for this very reason they must be anchored securely to prevent them from tearing and possibly damaging the plants.
They are available in various sizes and lengths, pre-perforated or neutral to be perforated, wide or narrow. In short, choose the one that best suits your needs, but always remember that it must be black to prevent light from passing through and causing weeds to germinate.
I anchor the sheet by placing shovelfuls of earth on it at intervals of one metre, alternating sides. Ideally, if possible, wet the earth that holds the sheet down, as it will become like cement, preventing the wind from lifting it.
I use a 120 cm wide sheet with two rows of holes staggered between them.
Tomatoes are plants that do not require much space despite their significant growth.
It is good practice to form files in rows so that they can be supervised correctly and consistently (but I will discuss this in a separate article).
Arrange two rows 60 cm apart with a gap of at least 80 cm between them, then continue with another two rows and so on.
Tomatoes should be planted 40 cm apart in each row.
Remember that it is best to plant tomatoes in a staggered pattern so that each plant has the right amount of space.
As every year, this topic is difficult to address because the climatic conditions vary greatly across Italy, but let’s try to shed some light on the matter.
First, let’s talk about transplanting indoors, i.e. inside a small greenhouse that is not necessarily heated. In this case, you can start planting in mid-April. If, on the other hand, you are planting in open ground, it is best to start in May.
These guidelines can be adjusted by 15 days earlier if you are in the north and 15 days later if you are in the south.
The reference periods may vary each year due to weather conditions. Therefore, I would advise you to always check the weather conditions before transplanting.
The choice of varieties is always subjective: it depends on personal taste and how we intend to use them.
What I am suggesting is everything you need in your vegetable garden!
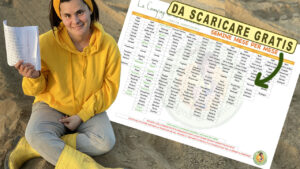
If you want to know what I plant, I’ll show you the varieties:
When buying a seedling, pay close attention to the roots: they should always be nice and white and completely envelop the soil. This is a sign of a healthy plant.
To plant, dig a hole that is deep enough. Do not be afraid to bury it up to the first leaf, as the entire buried part will allow the plant to generate new roots. Cover the hole, bringing as much soil as possible close to the stem of the plant, and water lightly.
We have finally planted our tomatoes, and we are updating ourselves on fertilisation and staking.
Follow my YouTube channel to watch my videos and my Instagram profile to see what I do on a daily basis.
See you next time!
My name is Francesca and I am 33 years old. I like to share my life in the countryside in a simple and spontaneous way, just as this adventure began.

Iscriviti alla nostra newsletter e ottieni subito un coupon di sconto del 10% da utilizzare sul tuo primo ordine come regalo di benvenuto!